
CONNECTING TO A WIRELESS NETWORK DURING THE FIRST TIME SET UP
Step 1
Xbox One asks, Which of these is yours?

Step 2
Select Add wireless network to see the list of available wireless networks. Then, browse to your wireless network and select it.
Xbox now asks you to enter the password for your wireless network.

Step 3
Type the password for your wireless network, using the keyboard displayed on the screen. Then, press Enter on your controller.
Step 4
Xbox One connects to the selected network, using the password you just provided.
Step 5
If the connection to the network succeeds, then it checks whether it can access the Internet or not. If all is well, Xbox One displays a message saying that you are connected.
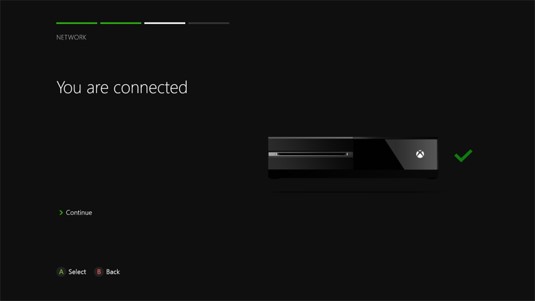
Step 6
Press Continue and Xbox One goes to the next step in the first time set up wizard. This involves updating the Xbox One to the latest software version, using the network connection you just added.
Follow the remaining steps in the wizard to complete the first time set up.
CONNECTING TO WIRELESS NETWORK AFTER SETTING UP YOUR XBOX ONE
Step 1
Turn on your Xbox One and go to the Settings menu.
Step 2
Select Network.

Step 3
Select Set Up wireless network, to connect to a new network.

Step 4
Xbox One asks Which one is yours? and displays the wireless networks it detects in your area.Select the network you want to connect to.

Step 5
Type the password used by that wireless network using the keyboard displayed on the screen. Press the Enter button on your controller.
Xbox One connects to the network you select, using the password you provided. Then, it checks whether it can connect to the Internet. If all is well, Xbox One informs you that your console is now connected to the Internet.

Step 7
Press Continue to get back to the Network Settings. Press the Home button on your controller.
You are now connected to the new wireless network you have selected !